A Fresh Installation Walk-through
The following screenshots step through a fresh installation of the OmniOS operating system on a blank hard drive using the standard dialogue-based installer. For the old plain text installer, please see our text-installer walk-through page.
To perform this installation, one may use a bootable CD, USB drive, or PXE. Images for these formats are available on our downloads page.
The information below is for an installation of r151054.
Virtual machine notes
OmniOS works well within a virtual machine environment such as Virtualbox, VMware, Xen, Hyper-V, KVM or Bhyve. The following configuration is recommended for such deployments.
| Architecture | 64-bit (x86-64) |
| Memory Size | 1GiB (minimum) |
| Hard Disk | 8GiB (minimum) |
Booting from the image
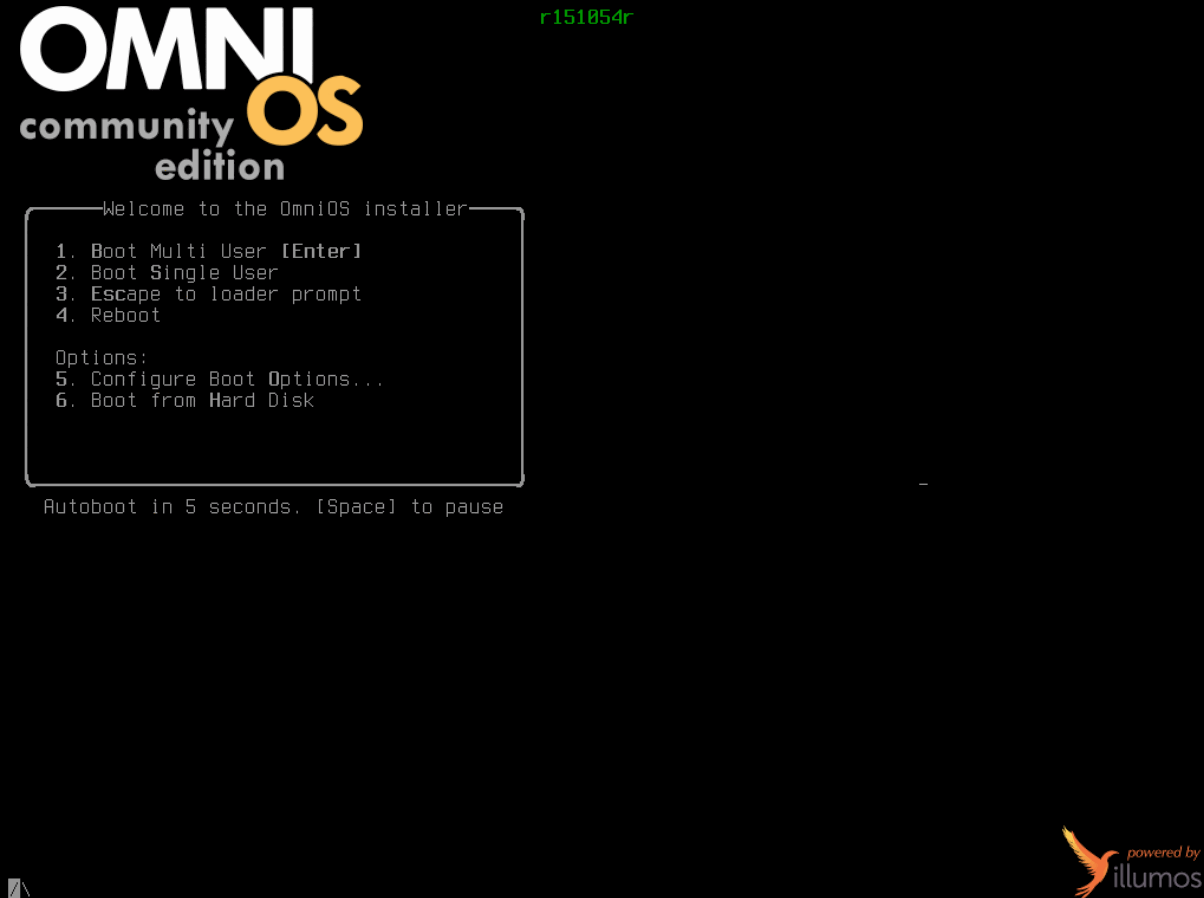
Upon booting from CD, USB or PXE, the OmniOS installer displays several boot options. To install, one may press return or let it time out and the installation will continue.
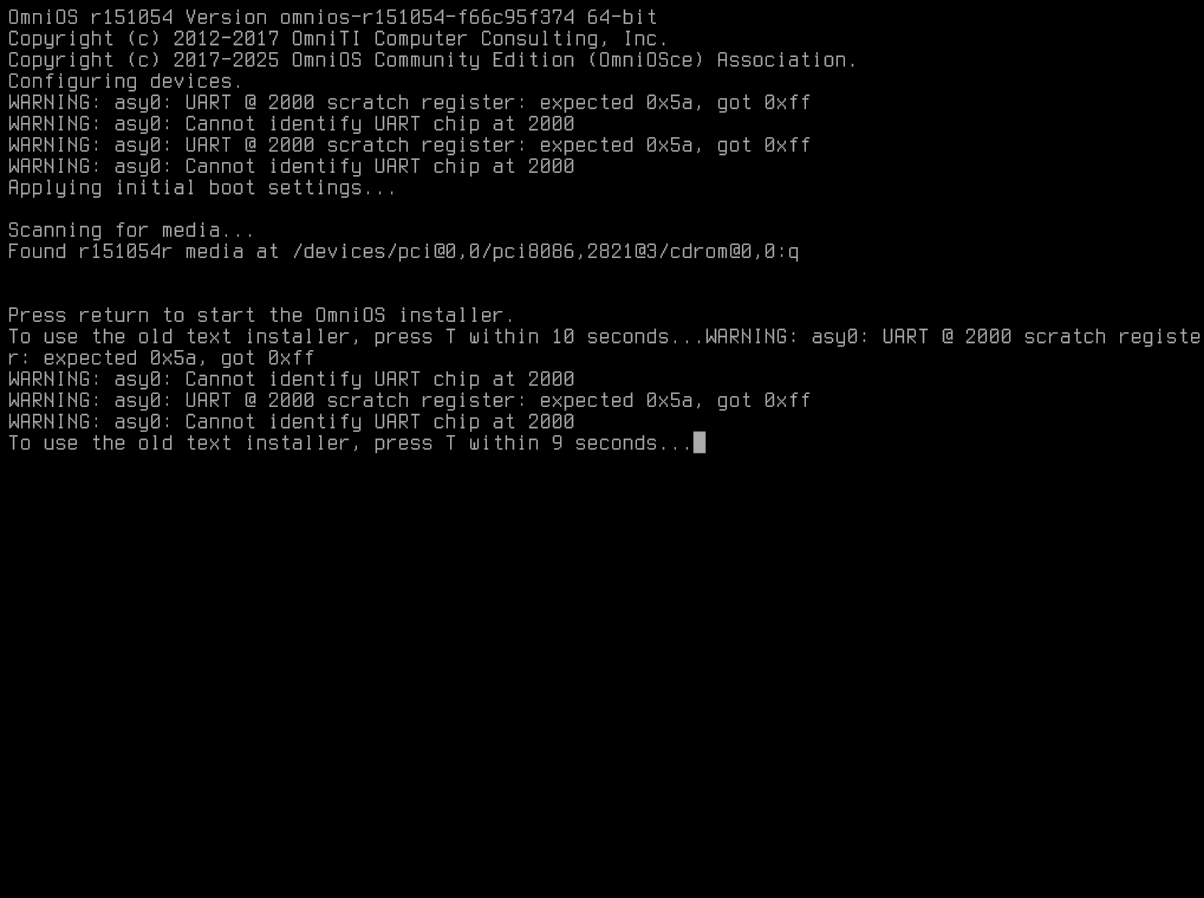
Once the installer is booted, you can choose to use the old
text-based installer by pressing T within
10 seconds. If you press return or the timeout expires, the
default dialogue-based installer will be started.
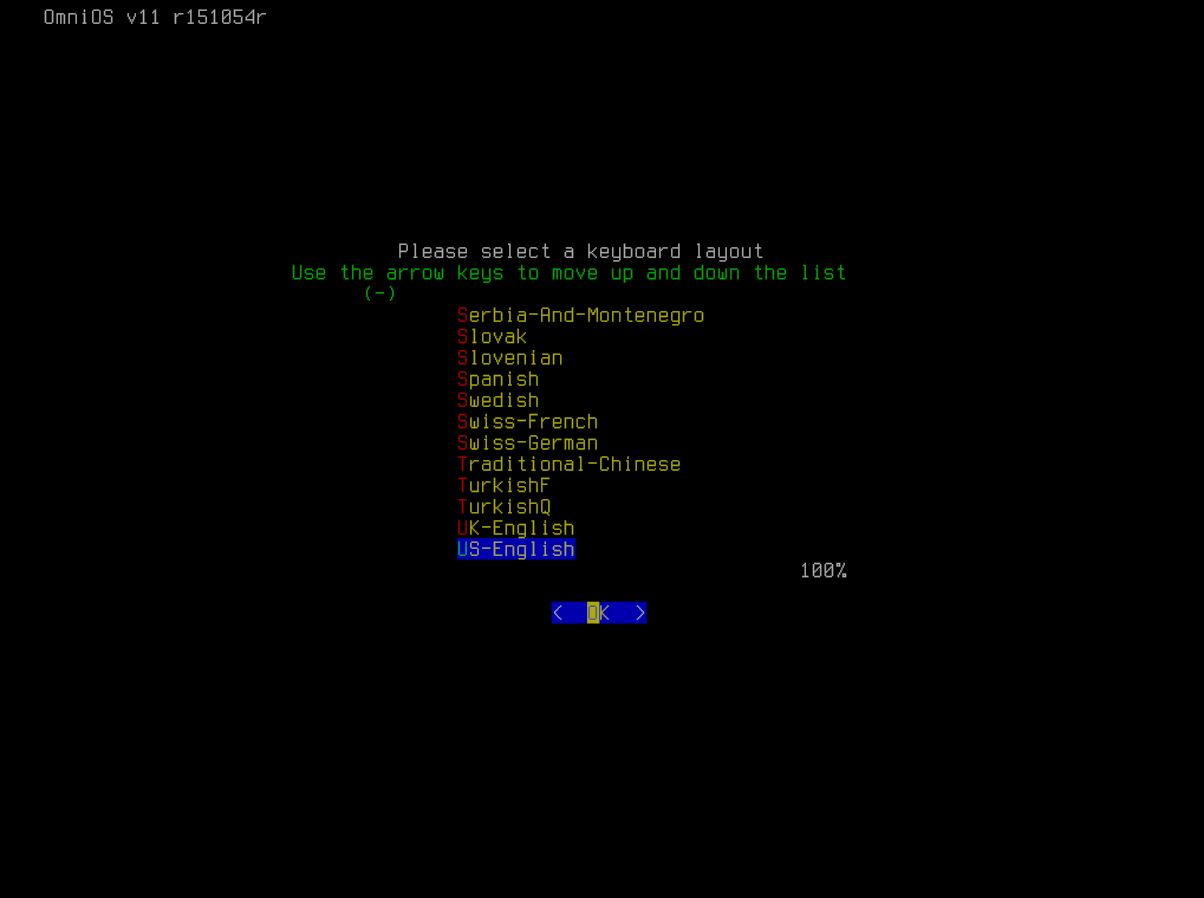
Select the desired keyboard layout from the displayed menu. Arrow keys can be used to move up and down, or the first letter of the desired selection will jump to the the entries starting with that letter; repeated presses will cycle within layouts with the same initial letter. Once chosen, press return to continue.
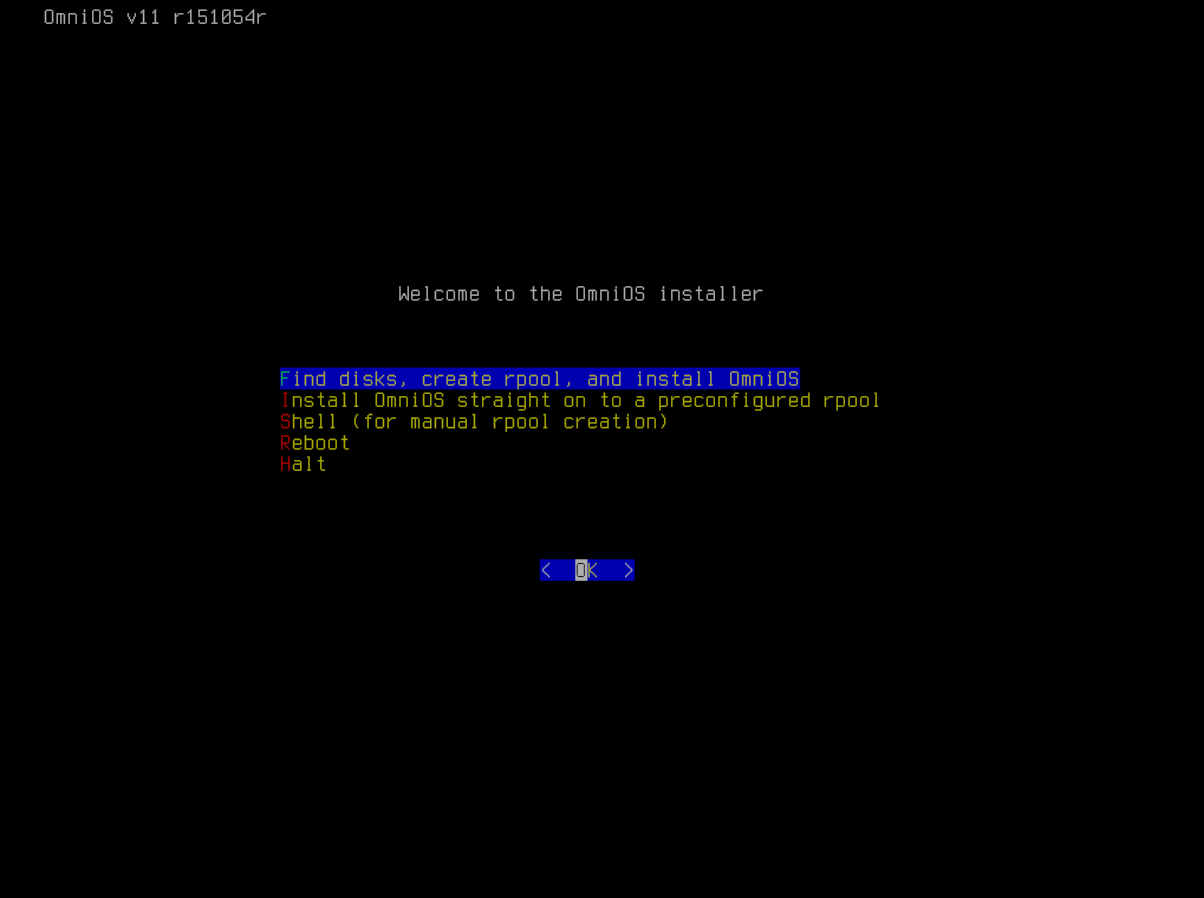
After selecting the keyboard layout, the top-level installation menu will be shown. This provides a number of options but for a simple installation onto a clean hard disk select the highlighted option Find disks, create rpool, and install OmniOS and press return.
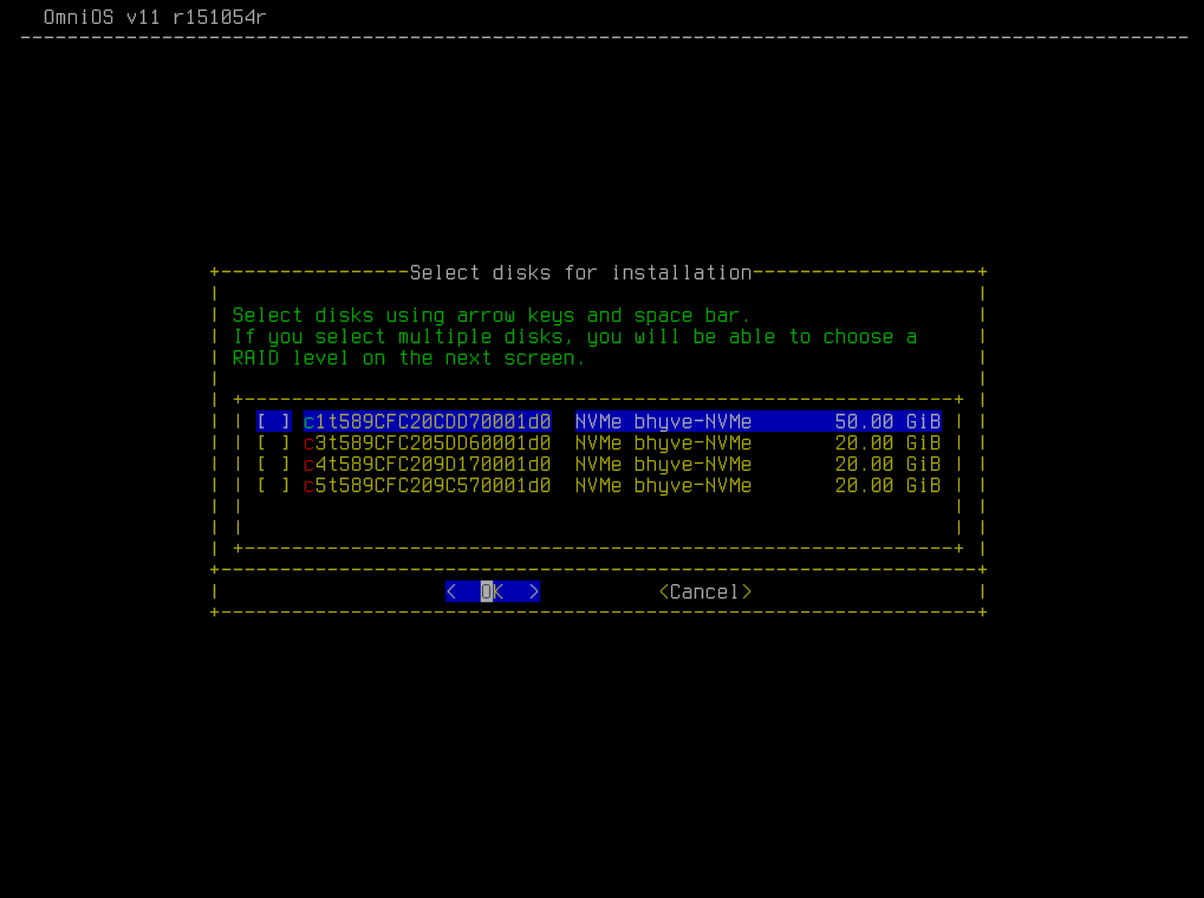
The next screen will display a list of detected hard disks from the system. Select the disks that should be used for the installation by moving up and down with the arrow keys and pressing the space-bar to toggle the checkbox against each item. Once finished, press return to continue.
If several drives are selected, you will be prompted for for the desired RAID level on the next screen.
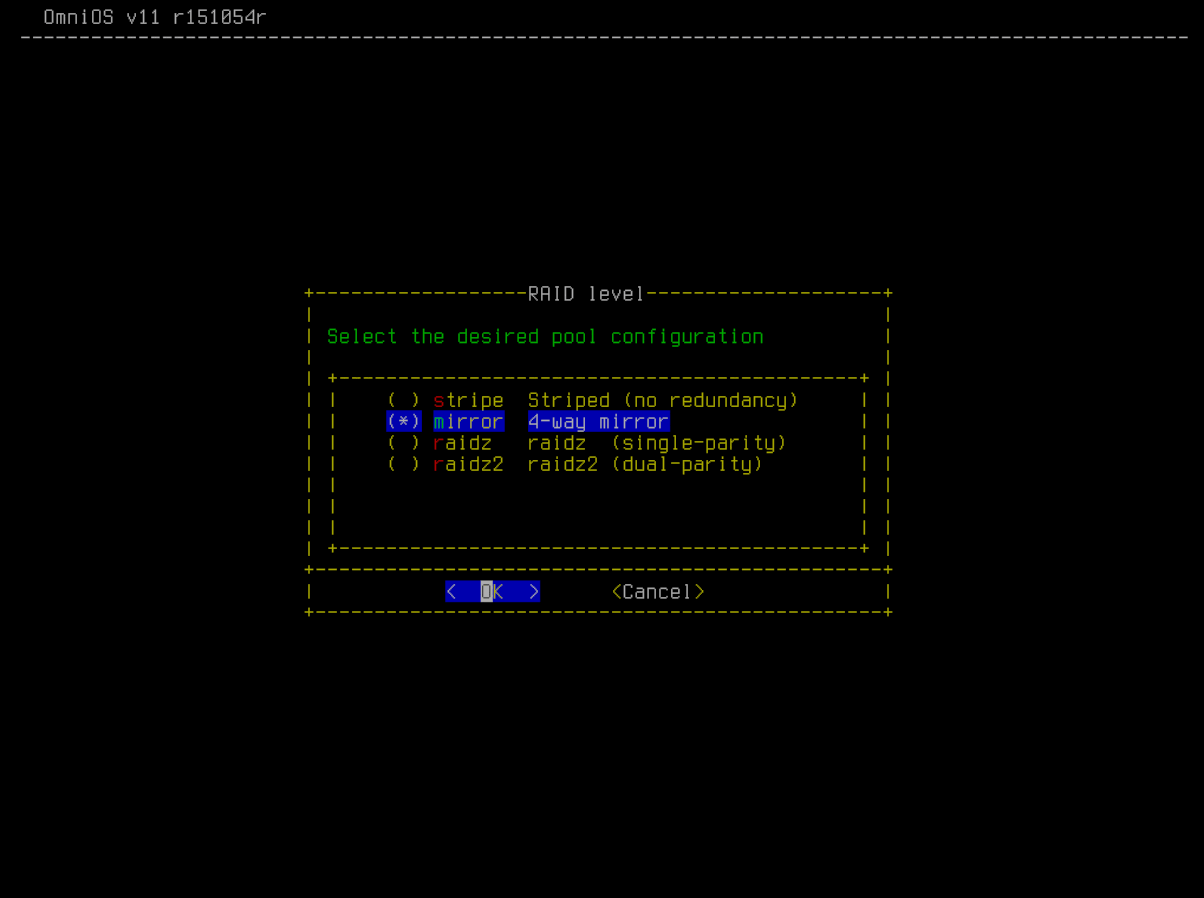
Next, if more than one disk has been selected, choose the desired RAID level for the root pool. The options displayed here will depend on the number of disks selected in the previous step.
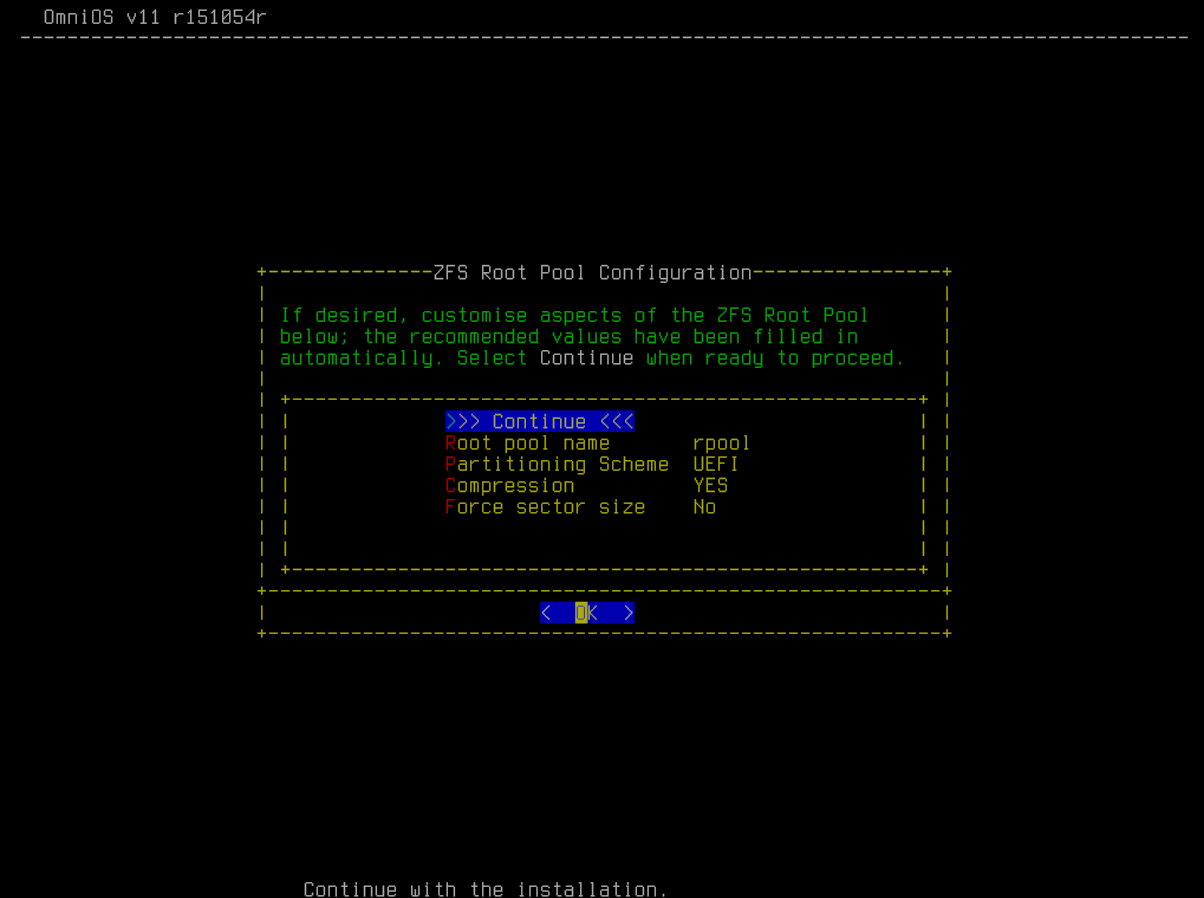
The root pool configuration screen allows some aspects of the new ZFS root pool, such as its name, partitioning scheme and compression, to be customised. The recommended values are filled in automatically; select >>> Continue <<< when ready to proceed.
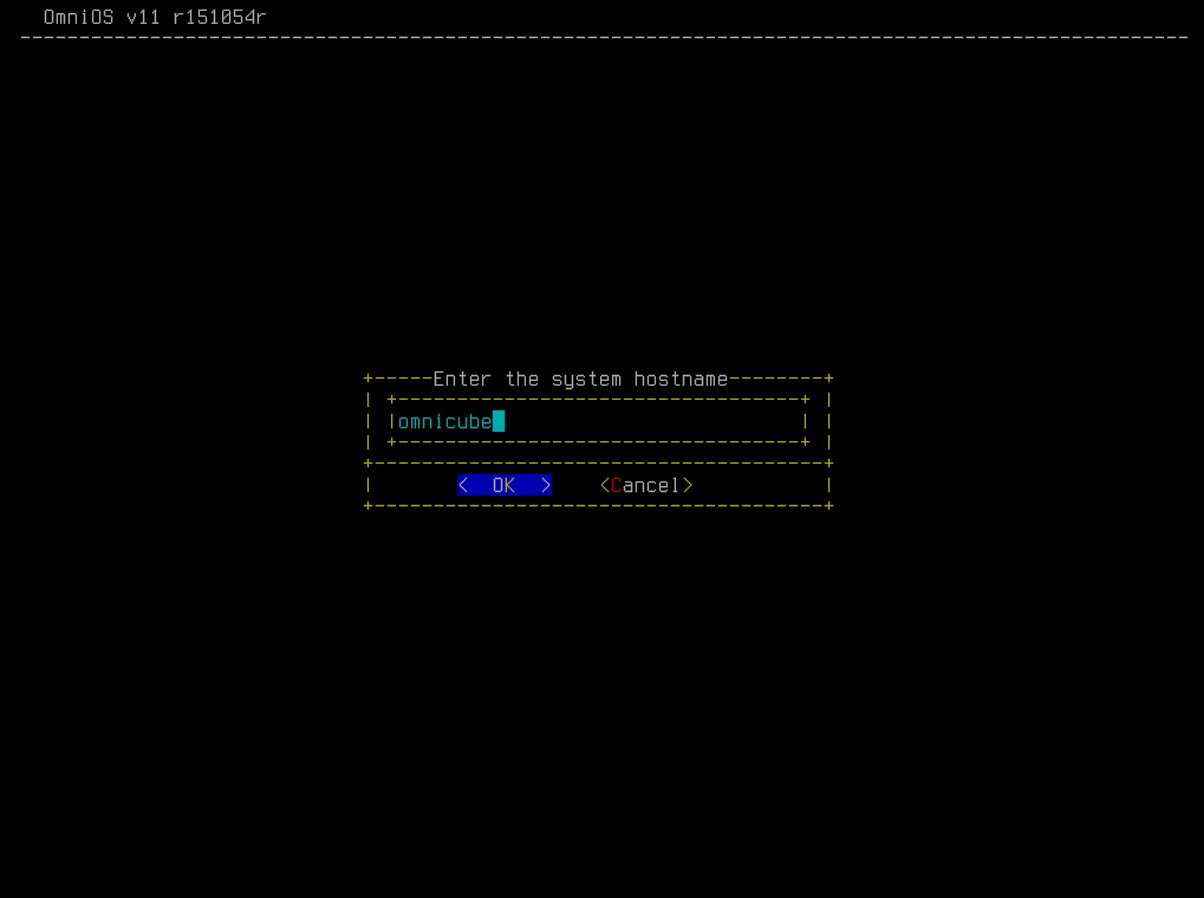
Enter a hostname for the new system, and press return.
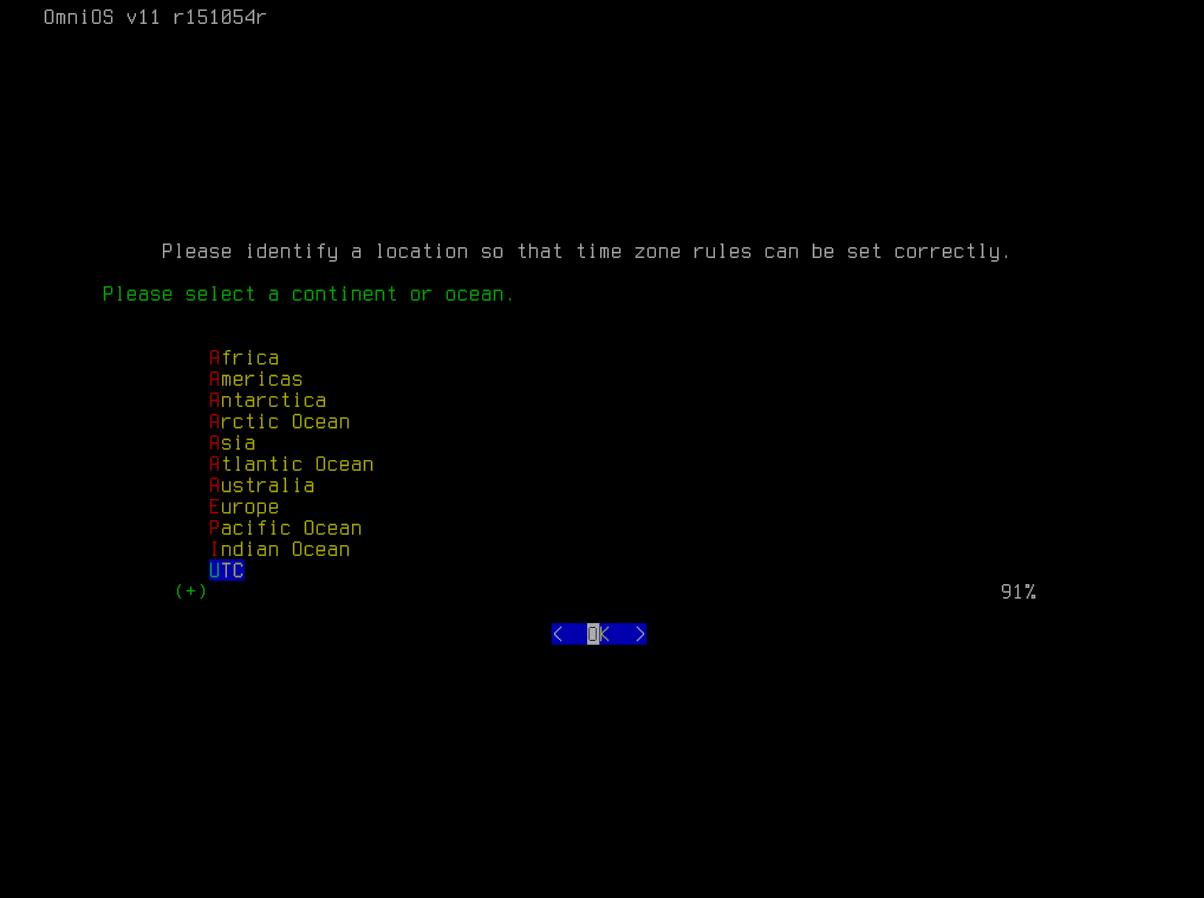
To select a time-zone, first choose a continent or ocean from the displayed menu then follow through to select a region and finally the desired timezone. If you wish to enter a POSIX time-zone string directly select the last option displayed option (none) or if you want to use UTC then choose that option directly.
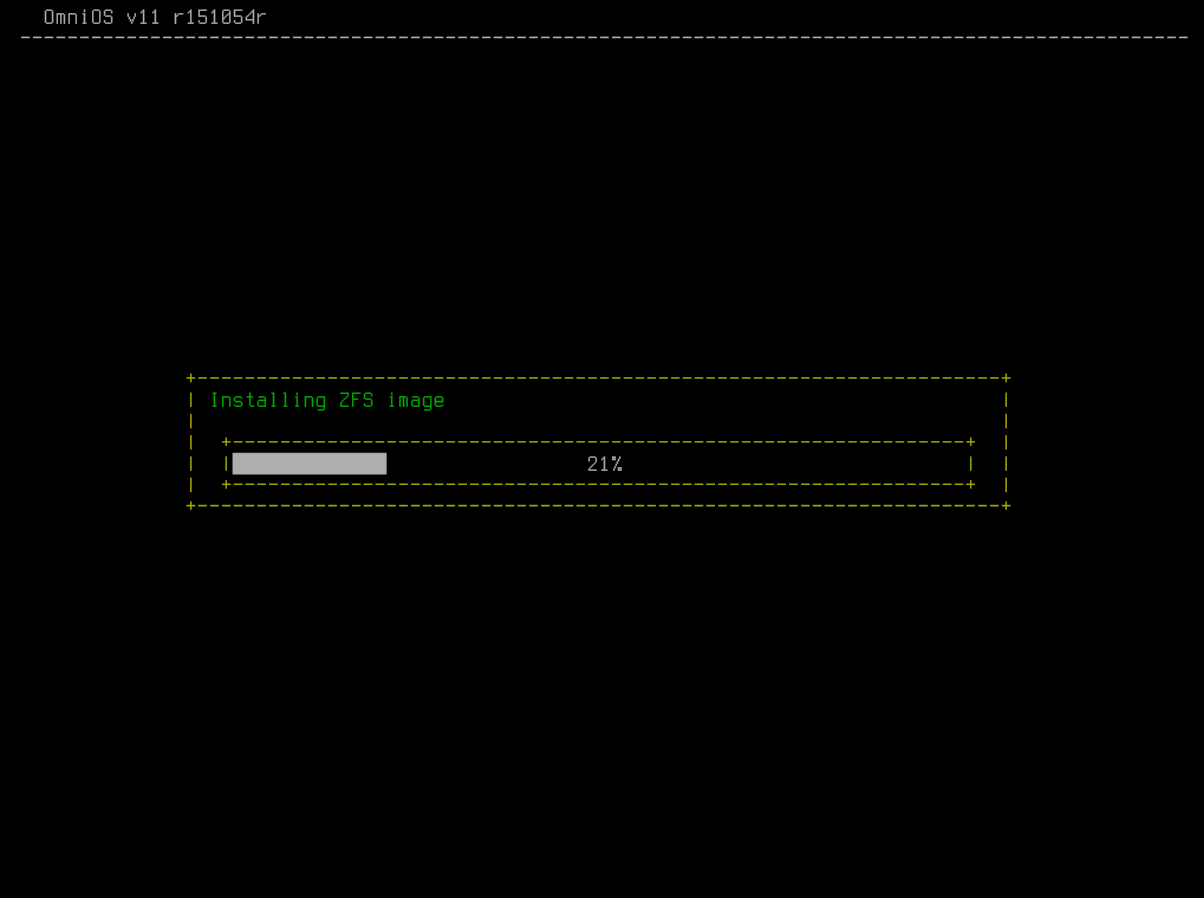
The installer now begins to install the operating system image onto the hard drive and shows progress to the screen.
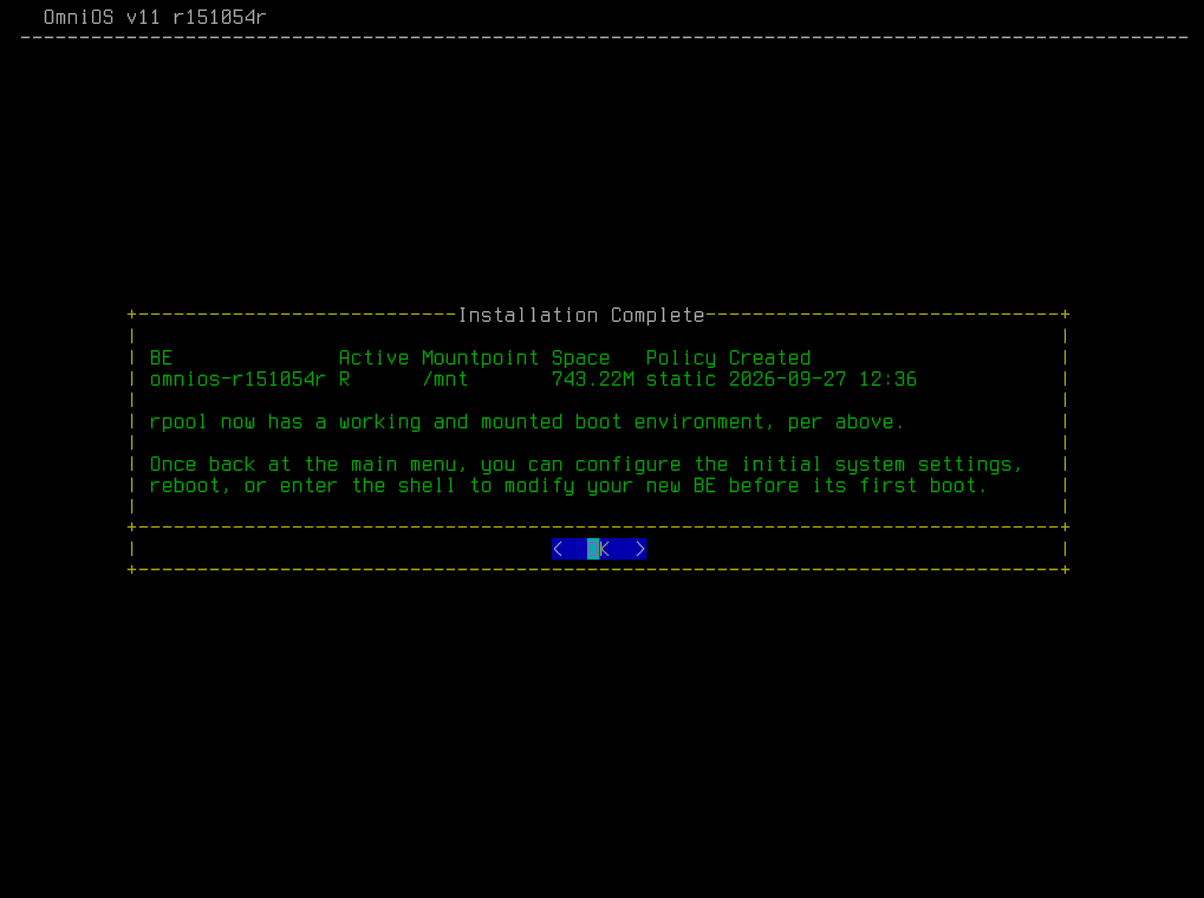
When finished writing to the hard drive, the installer displays status information. Press return to proceed.
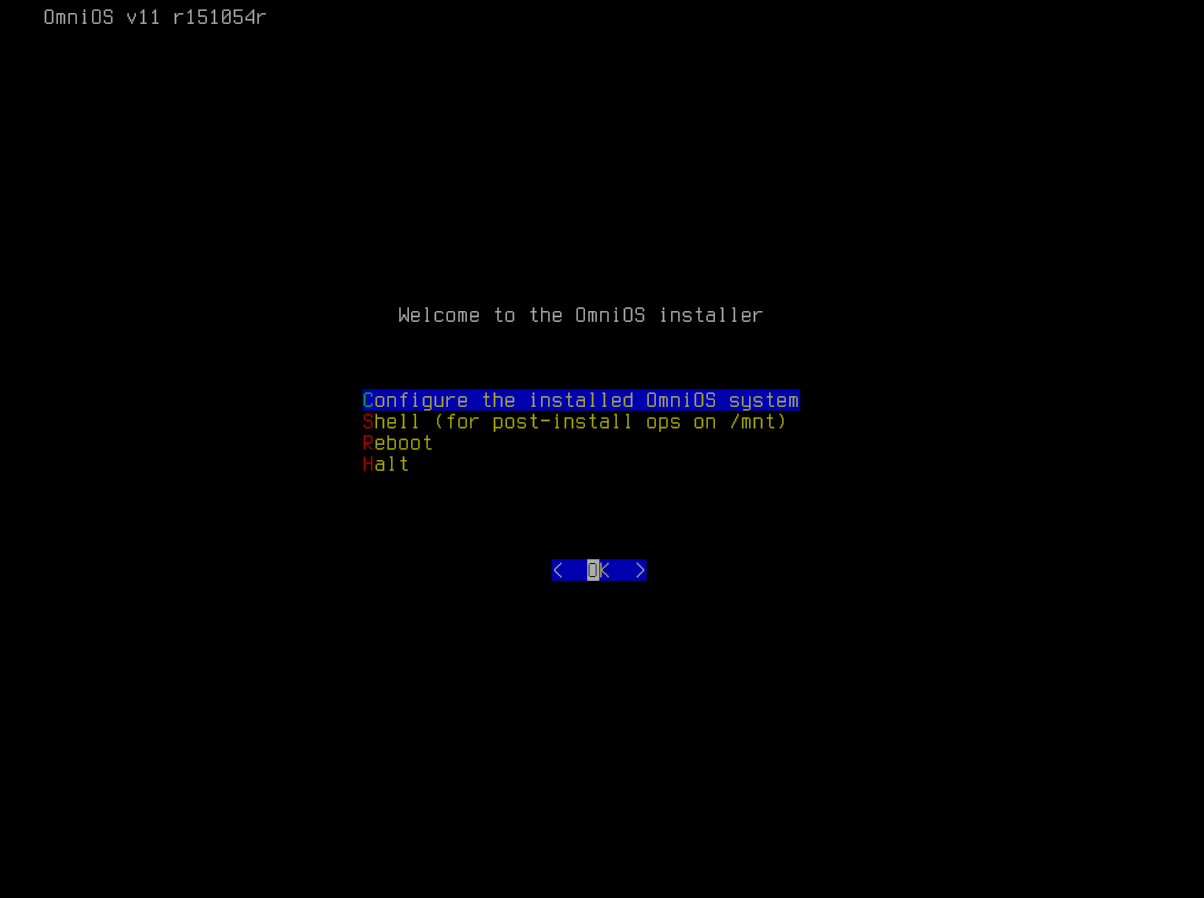
The post-installation menu provides an option to configure some basic system parameters before first boot, as well as options to reboot or halt the system.
Selecting the first option shows a menu through which some initial system parameters such as IP address and passwords can be configured.
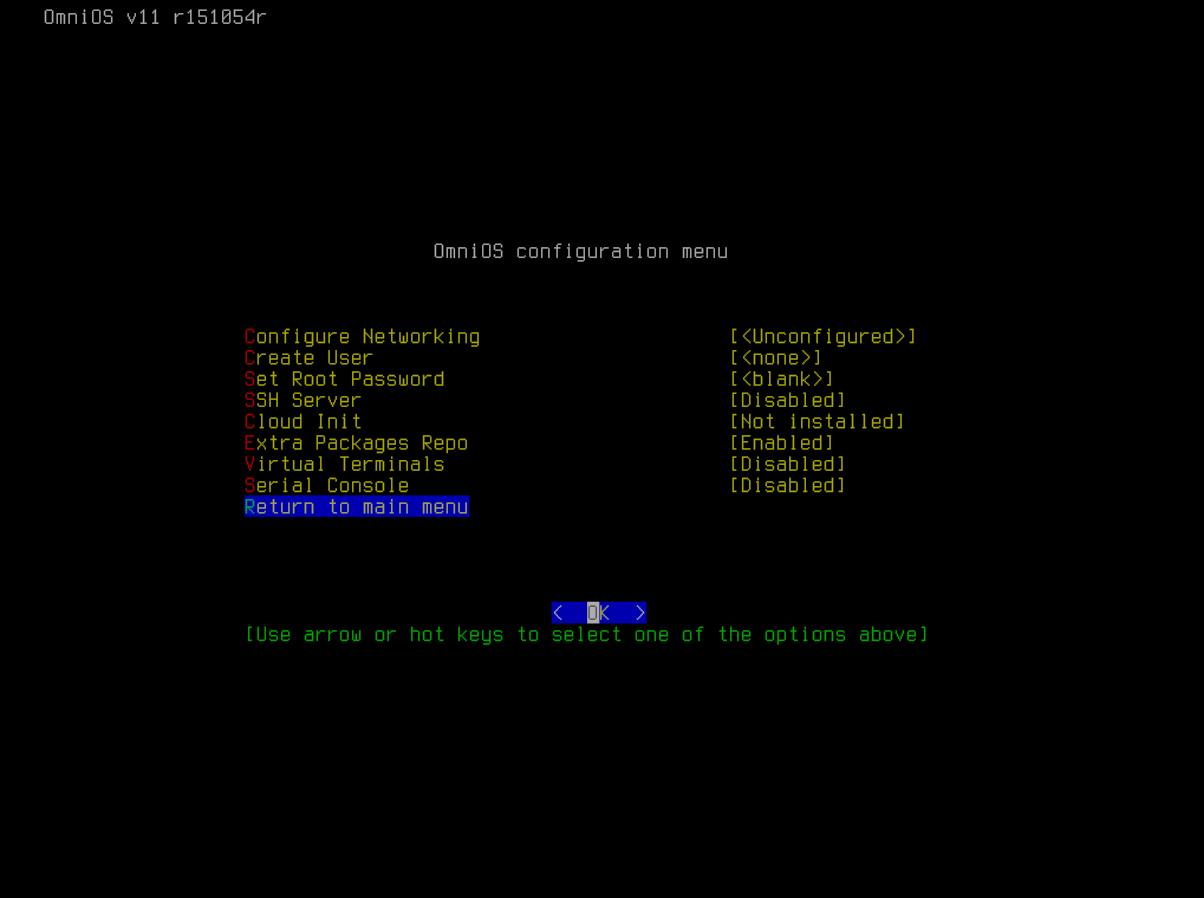
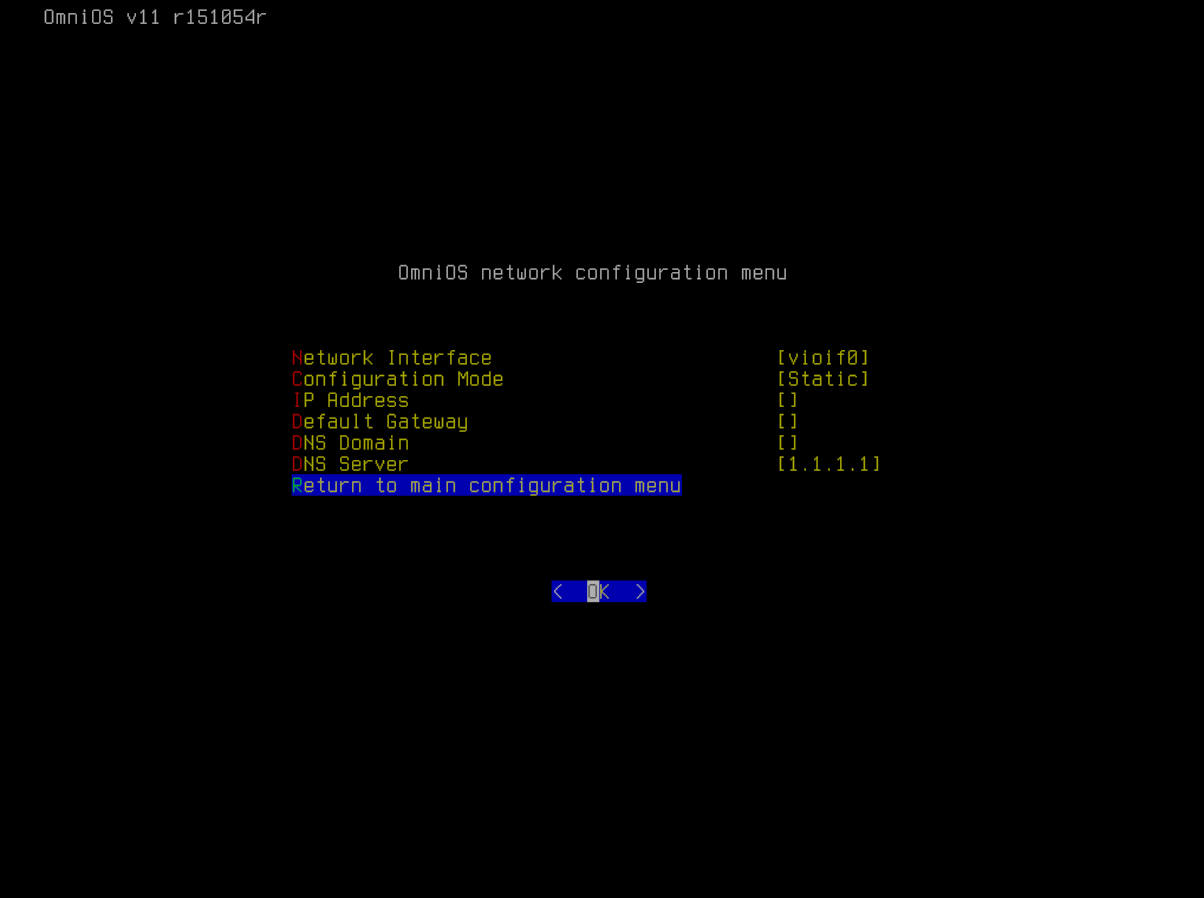
Selecting Configure Networking opens a sub-menu for setting up the primary network interface, either statically or via DHCP, along with the default gateway and DNS settings.
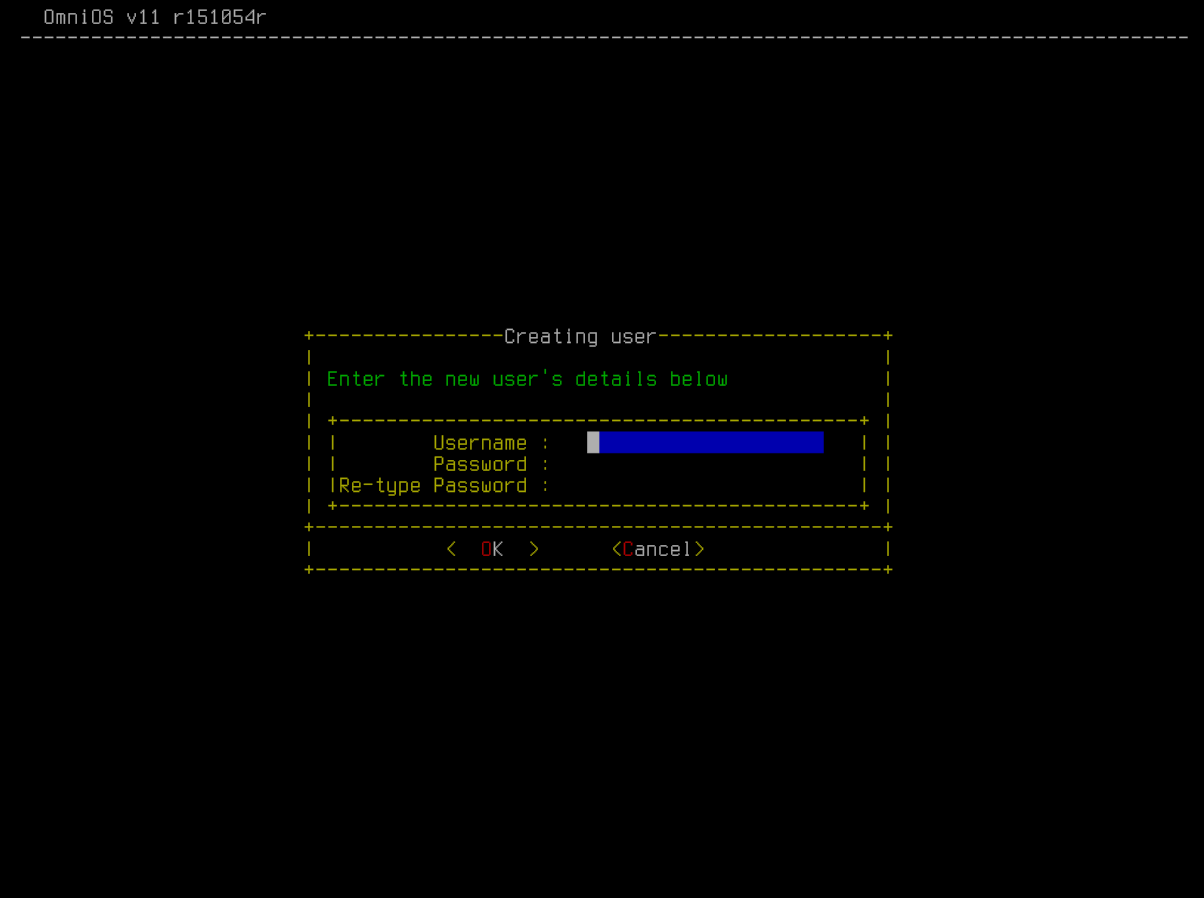
Create User walks through creating an initial non-root user, starting with the username and password,
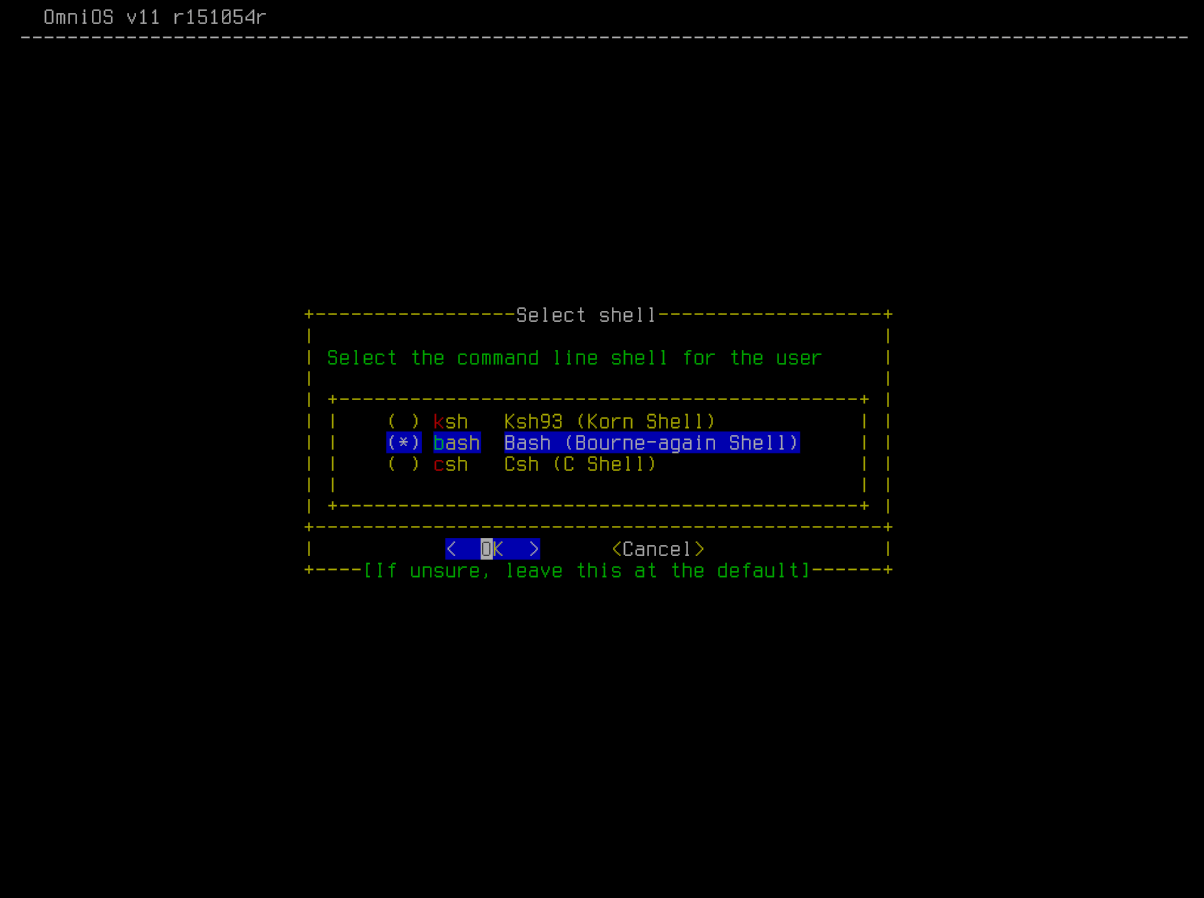
followed by the user’s login shell,
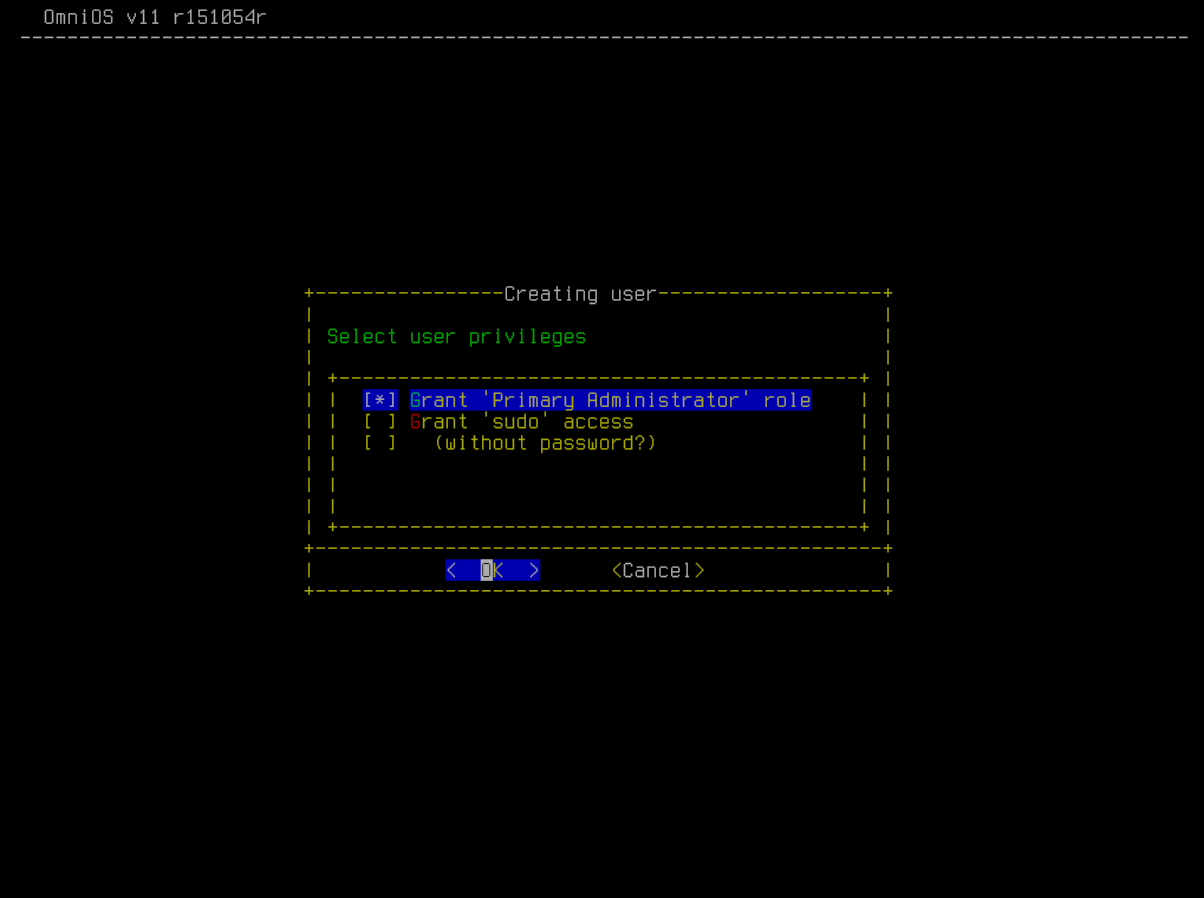
and finally the privileges which should be granted to the new user.
When finished, the system can be rebooted via the menu.
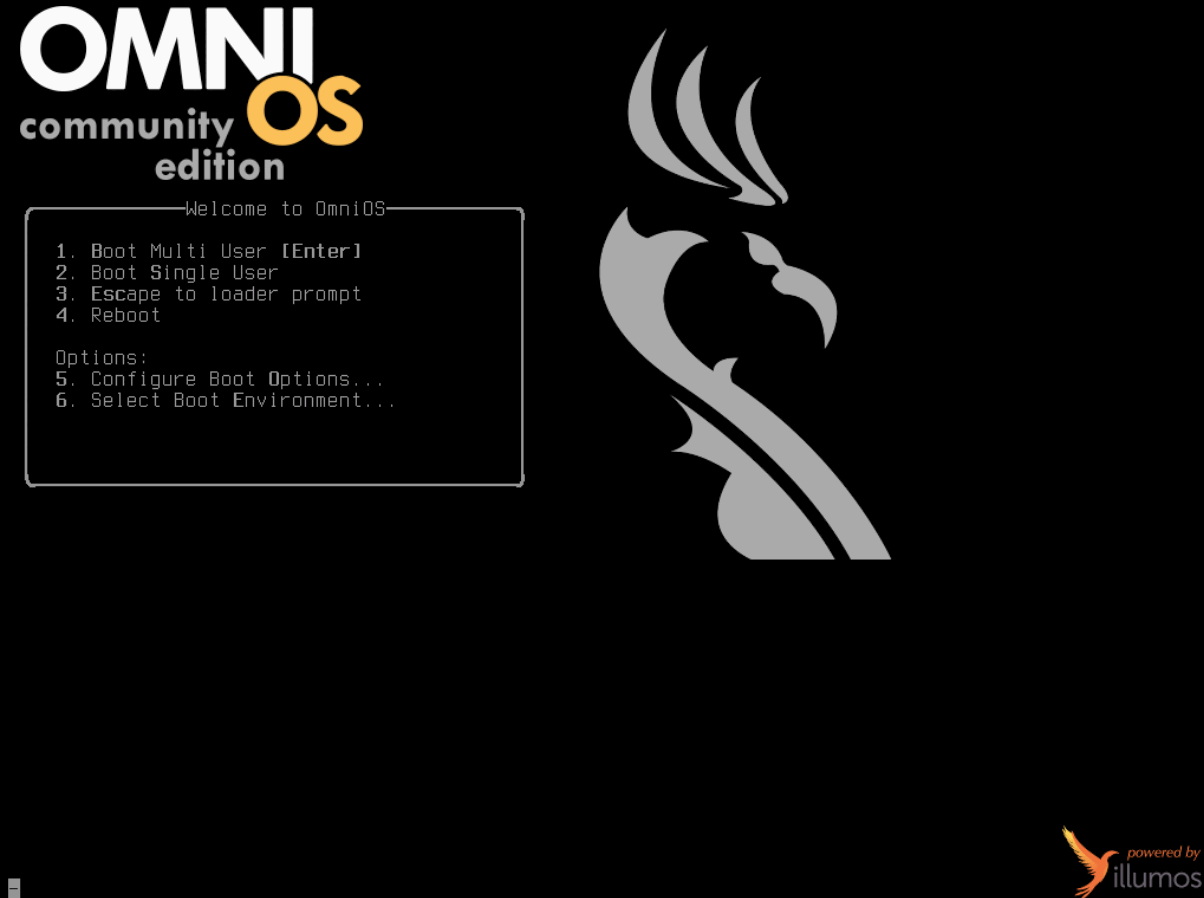
The splash screen loading from the hard drive looks almost the same as that from the CD or USB drive. One can press return or let it time out to boot the operating system.
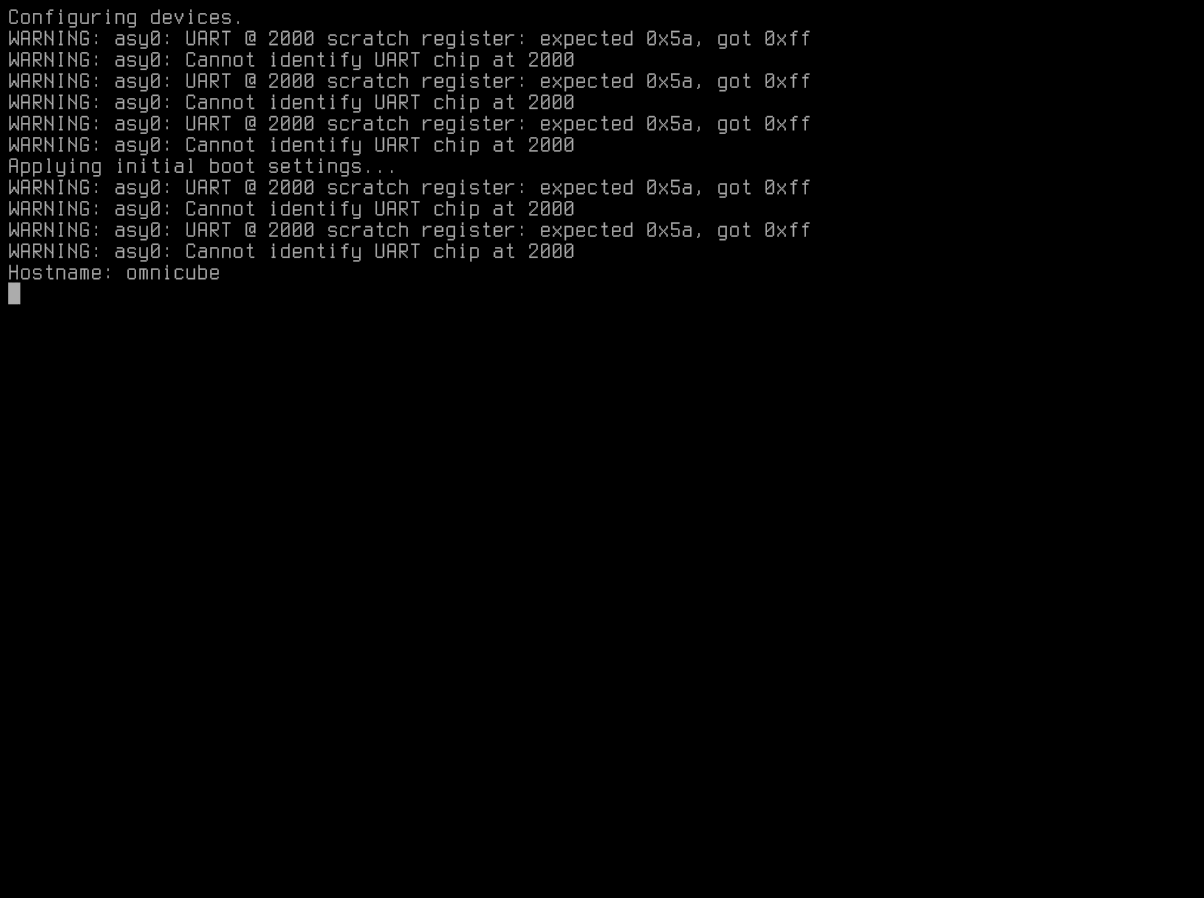
The system then boots, applies the initial settings and displays the console login prompt.
Unless configured explicitly in the post-installation configuration menu,
the password for user root will be blank (just press return).
Refer to the getting started guide for next steps.